
In the evolving world of cryptocurrency, securing your digital assets is paramount. Trezor, a leading hardware wallet provider, offers a reliable solution for safeguarding your crypto holdings. By visiting Trezor.io/start, users can initiate the setup process for various Trezor devices, including the Model One, Model T, Safe 3, and Safe 5. This guide provides a comprehensive walkthrough to ensure a smooth and secure setup experience.
Before diving into the setup, ensure you have the following:
A Trezor Hardware Wallet: Model One, Model T, Safe 3, or Safe 5.
A Computer or Smartphone: With internet access.
A USB Cable: To connect your Trezor device.
A Recovery Seed Card: Included in your Trezor package for backup purposes.
Plug your Trezor hardware wallet into your computer or smartphone using the provided USB cable. Upon connection, your device will display a lock icon, signaling that it's ready for setup.
Open a web browser and go to Trezor.io/start. This official portal will guide you through the initialization process. Ensure you're on the authentic Trezor website to avoid phishing attempts.
Select the model of your Trezor device from the options presented. Each model may have slight variations in setup procedures, so it's crucial to follow the specific instructions for your device.
If your device is uninitialized, you'll need to install the latest firmware. The Trezor Suite application will prompt you to do this. Follow the on-screen instructions to complete the installation.
Create a New Wallet: If this is your first time setting up a Trezor device, select the option to create a new wallet. You'll be guided to generate a wallet backup.
Recover an Existing Wallet: If you're restoring a wallet from a previous device, choose the recovery option. You'll need to input your recovery seed phrase.
During the setup, you'll be presented with a series of words—this is your wallet backup (formerly known as a recovery seed). It's vital to write down these words in the exact order on the provided recovery seed card. Store this card in a secure location, as it is the only way to recover your wallet if your device is lost or damaged.
To enhance security, you'll be prompted to set a PIN code. This PIN protects your device from unauthorized access. Choose a unique PIN that others cannot easily guess.
Once the setup is complete, you'll be directed to Trezor Suite, the official application for managing your crypto assets. Here, you can send, receive, and monitor your cryptocurrencies securely.
Avoid Digital Copies: Never store your recovery seed or PIN digitally. Physical copies are more secure.
Regular Backups: Periodically update your backup to include any new addresses or assets.
Firmware Updates: Regularly check for and install firmware updates to ensure your device has the latest security features.
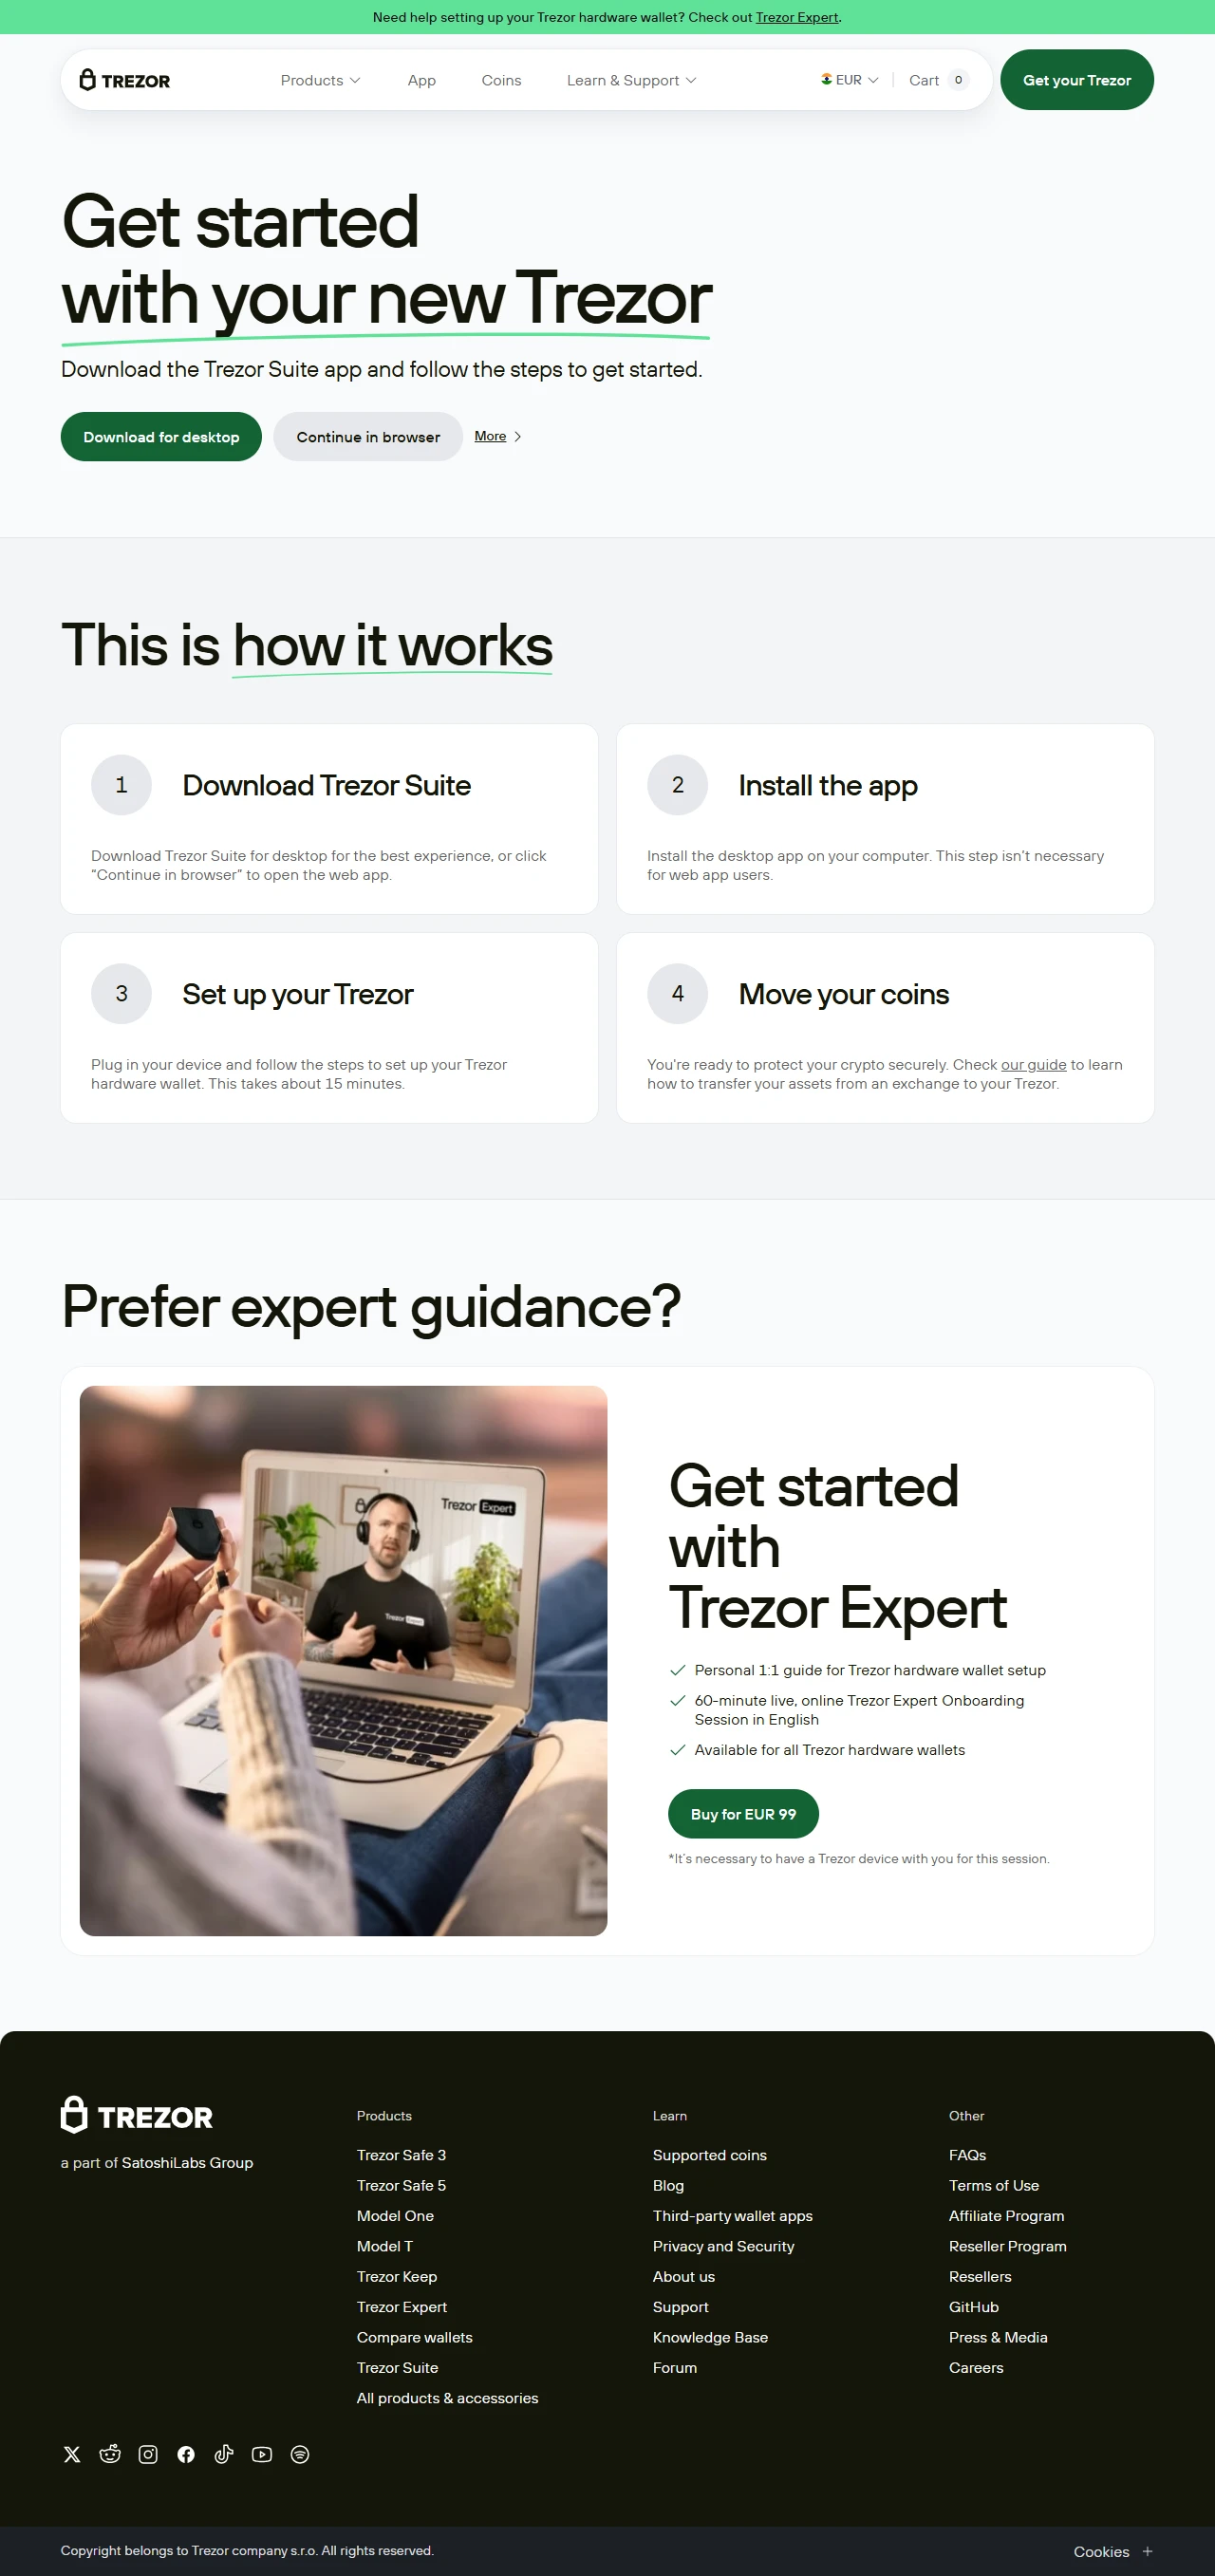
Use Trezor Expert Sessions: For personalized assistance, consider booking a Trezor Expert Onboarding Session. This 60-minute, one-on-one session provides hands-on guidance and security insights. It's especially beneficial for newcomers to cryptocurrency.
Setting up your Trezor hardware wallet via Trezor.io/start is a straightforward process that significantly enhances the security of your cryptocurrency holdings. By following the steps outlined above and adhering to best practices, you can ensure that your digital assets remain protected. Remember, the security of your crypto is in your hands, and Trezor provides the tools to help you safeguard it effectively.